

Token boards are an essential tool for managing challenging behaviors for students with autism or developmental disabilities. However, providing a token board for students in an online learning environment can be a challenge. In this tutorial, we will look at how to build a digital token board using Google Slides.
What is a Token Board?
A token board is a system that rewards students with a token when they demonstrate appropriate behavior or complete tasks. Students pick a desired item or activity before starting a task. When the students earns the predetermined number of tokens while doing the task, they get access to that item or activity.
For example, let’s look at a student learning how to count sets of objects. Before starting the counting activity, the student chooses “playground” from a set of options. As the student does the activity with appropriate behavior, the teacher rewards the student with tokens. Once the student gets five tokens, often coinciding with the end of the activity, the student gets access to the playground.
Token boards are one form of reinforcement, an evidence-based practice that helps students learn new ideas and behaviors.
Let’s get started!
Step #1: Create Your Template
First, create a presentation using Google Slides. If you need help, check out Google’s support page on how to set one up.
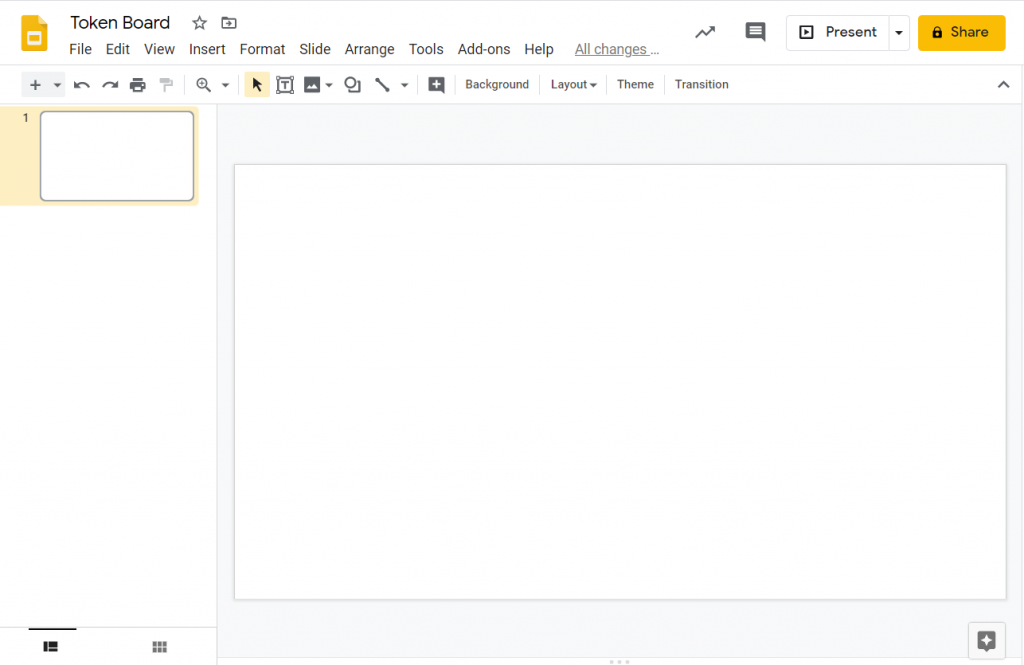
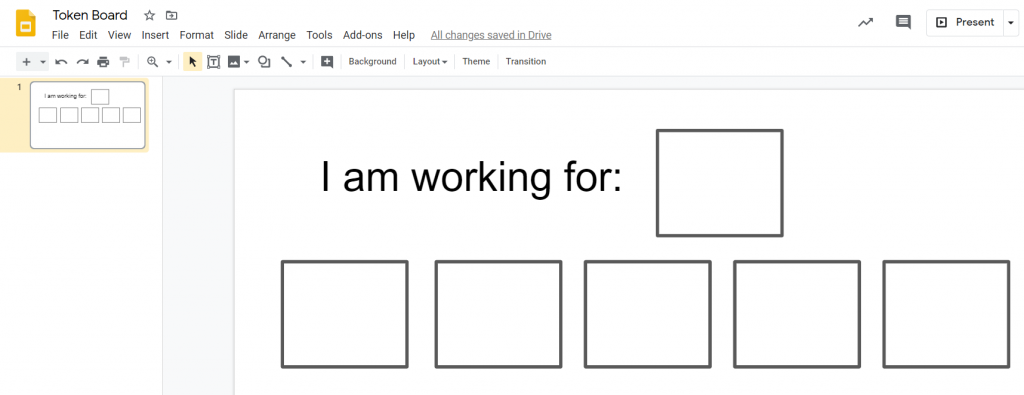
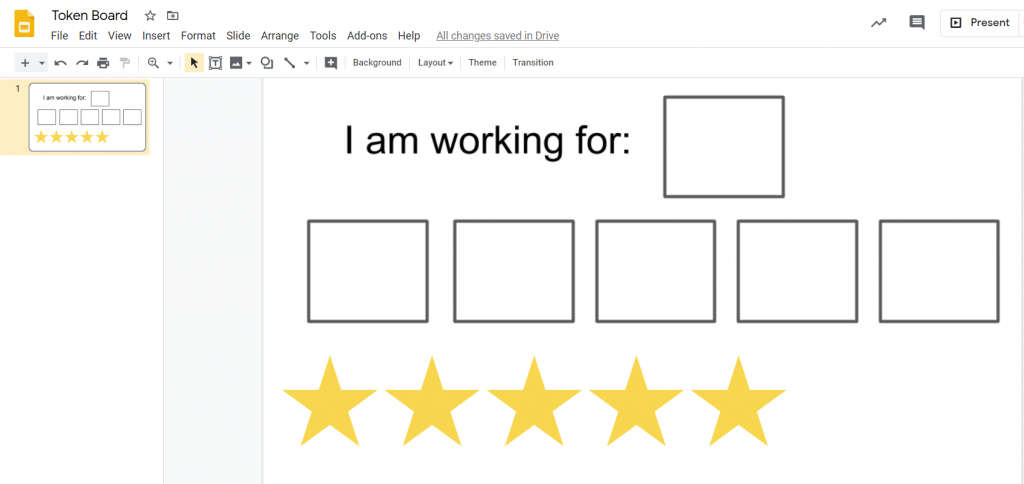
Title the presentation “Token Board.” Go ahead and highlight and delete all the elements that are preloaded (“Click to add Title” etc.). Your screen should now look like this:
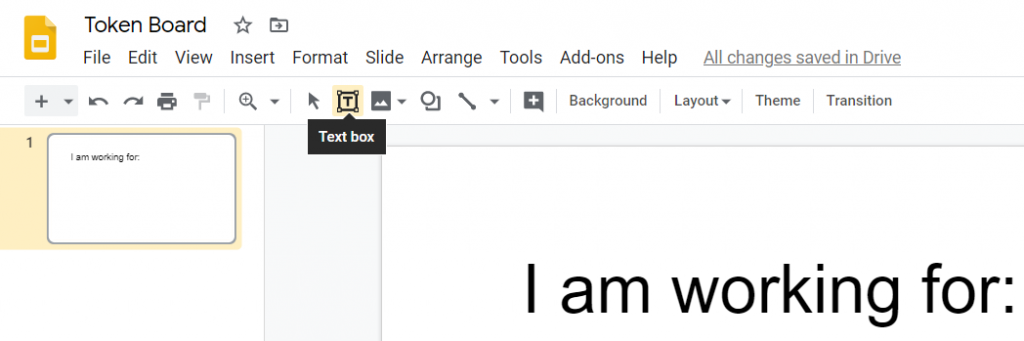
Now we will add the text “I am working for” with the text box button on the toolbar and increase the font size to 35 or higher.
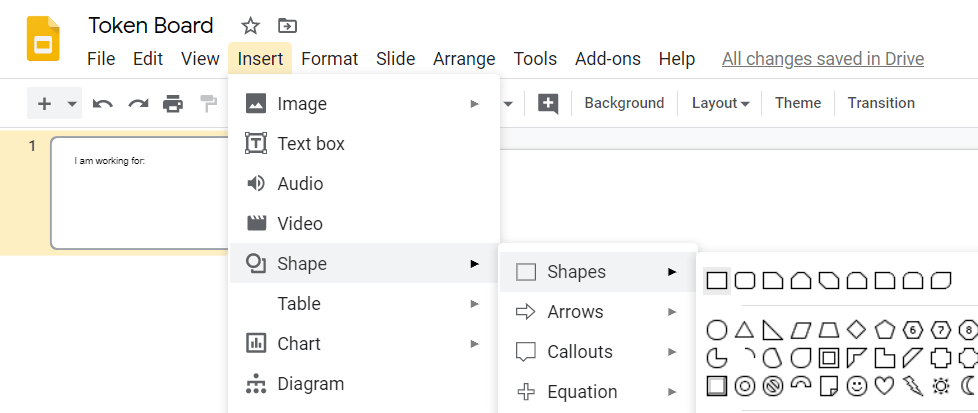
Next, let’s make the empty boxes where the student’s choice and tokens will go. For this example, we will be using 5 tokens, however it can be any number. Go to Insert > Shape > Shapes and select the square icon. Click anywhere on the slide and drag to make a square.
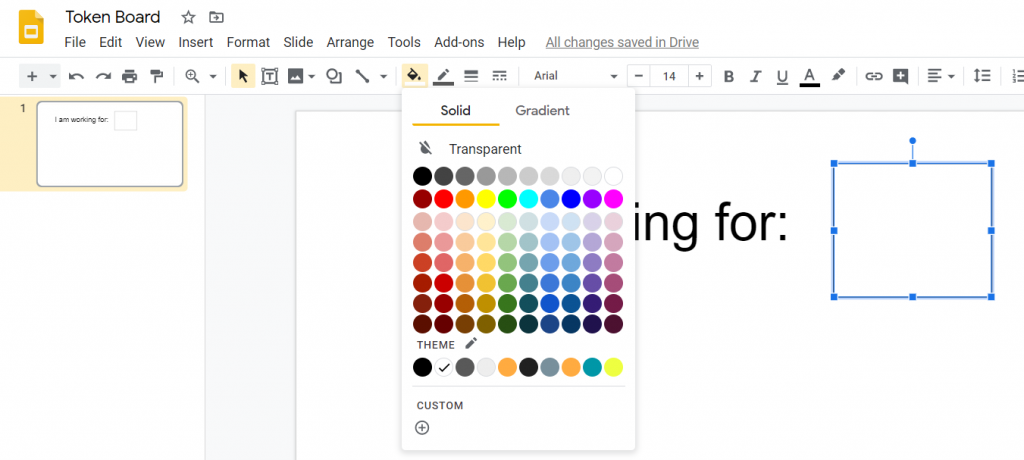
You can then change the formatting using the tool bar to change the fill color to white and increase the width of the lines. My preference is 4px, but you can choose anything.
Finally, select the square and copy it by either right clicking and selecting copy, or using the short cut keys. Then paste it 5 times and move the boxes into a row like so:
Step #2: Set the Background
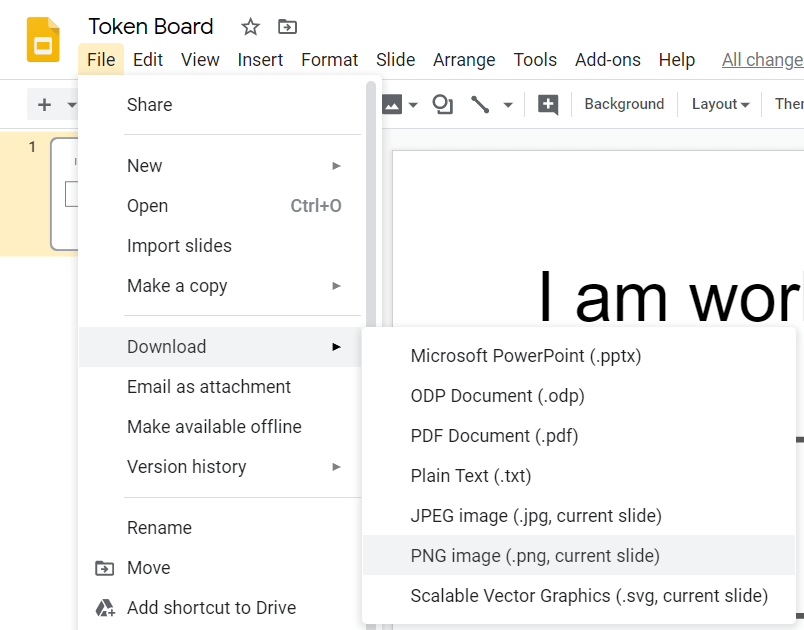
Here’s the key trick to making this work. Since we need to make sure that the elements we just created are fixed in place, we need some way to lock them. To do this, we will save this slide as an image. Go to File > Download > PNG Image.
Now we are ready to lock our image in place. Go ahead and click and drag to select everything you just made on the slide and delete it. Then you will go to Slide > Change Background.
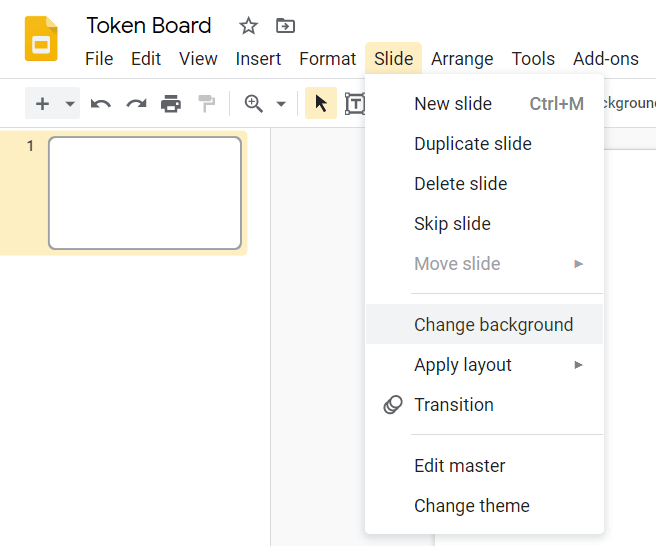
Here you will upload the PNG image you just created. Now try to click and move the elements on the slide. Can’t move them, right? They are locked in place!
Step #3: Make your Tokens
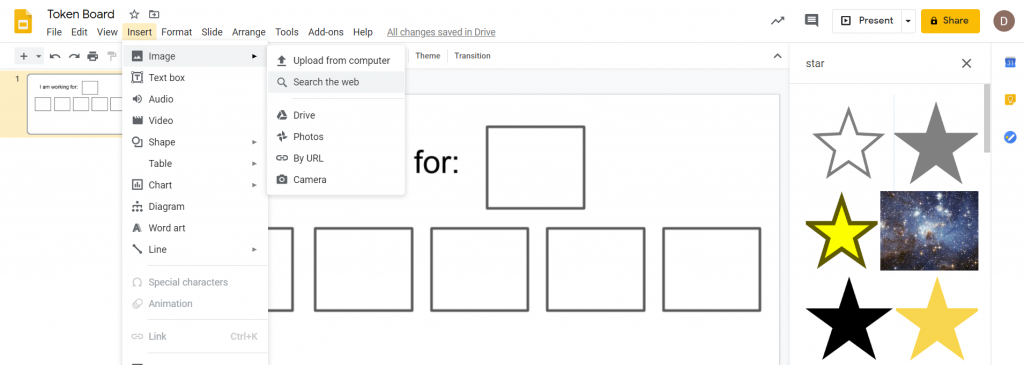
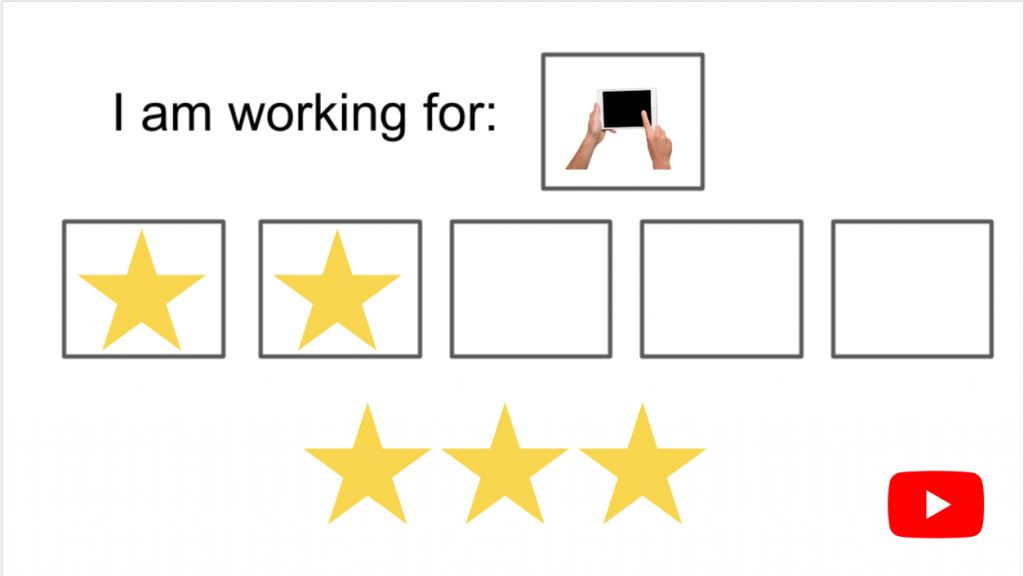
Now it’s time to pick your tokens. When picking a token, it can be helpful to choose items that students are interested in, like cars, or ponies. For our example, we will use stars. Go to Insert > Image > Search the Web. Then find a suitable image to use and insert it. Adjust the size so that it will fit inside the token boxes.
Finally, copy and paste so that you have 5 tokens to fill the 5 boxes.
Step #4: Add Choices
Almost done! Last item is to give the student some choices to pick from. If we are in a remote learning environment, we will pick two items that our students can have access to. Perhaps an iPad and Youtube. Use the same search image directions we discussed before and resize the image so they fit in the box. And that’s it!
You can use this same strategy to make choice-boards, task schedules, activities, or anything else you might need when working online with a student. The possibilities are limitless!


Thanks for posting this!
[…] Token Boards video lesson https://blog.esc13.net/how-to-create-a-digital-token-board-using-google-slides/ […]
Thank you!!1
This just changed my teletherapy immensely! Thank you so much!
This site is fantastic! Exactly what I needed to see. Well done!